Dedicated to our Pujya Gurudev Swami Chinmayananda

Dedicated to our Pujya Gurudev Swami Chinmayananda

Hari OM!

This blog is designed to serve as a library of art and craft ideas for our balavihar children. We hope that you will find this site useful. Please feel free to use any (or all) of the projects you see posted here. We ask, however, that you refrain from publishing (in any form) these templates, instructions, and photographs, unless you receive written permission. These projects are being provided for your own personal use or use in the Balavihar classroom.


All art projects are categorized by 1) material, 2) use, and 3) type. For example a Diya greeting card would be under the labels "Paper" and "Cards," while a Lord Hanumaan puppet would be found under "Paper," "Toys and Puppets" and "Gods and Goddesses." Most materials for these projects can easily be purchased from any local craft store — and some projects involve materials you already have laying around the house.


We would love to hear your suggestions and ideas about any of the information you find on this site. And, if you have any projects that you would like to share with other seviks/sevikas, please send a picture of the finished piece, as well as instructions on how to make the project – so we can post it.


Happy Creating!

Thursday, May 20, 2010

Peacock Feather Likhita Japa


This likhita japa is dedicated to Swamiji
Summer Camp 2010


Click on the image to view enlarged.
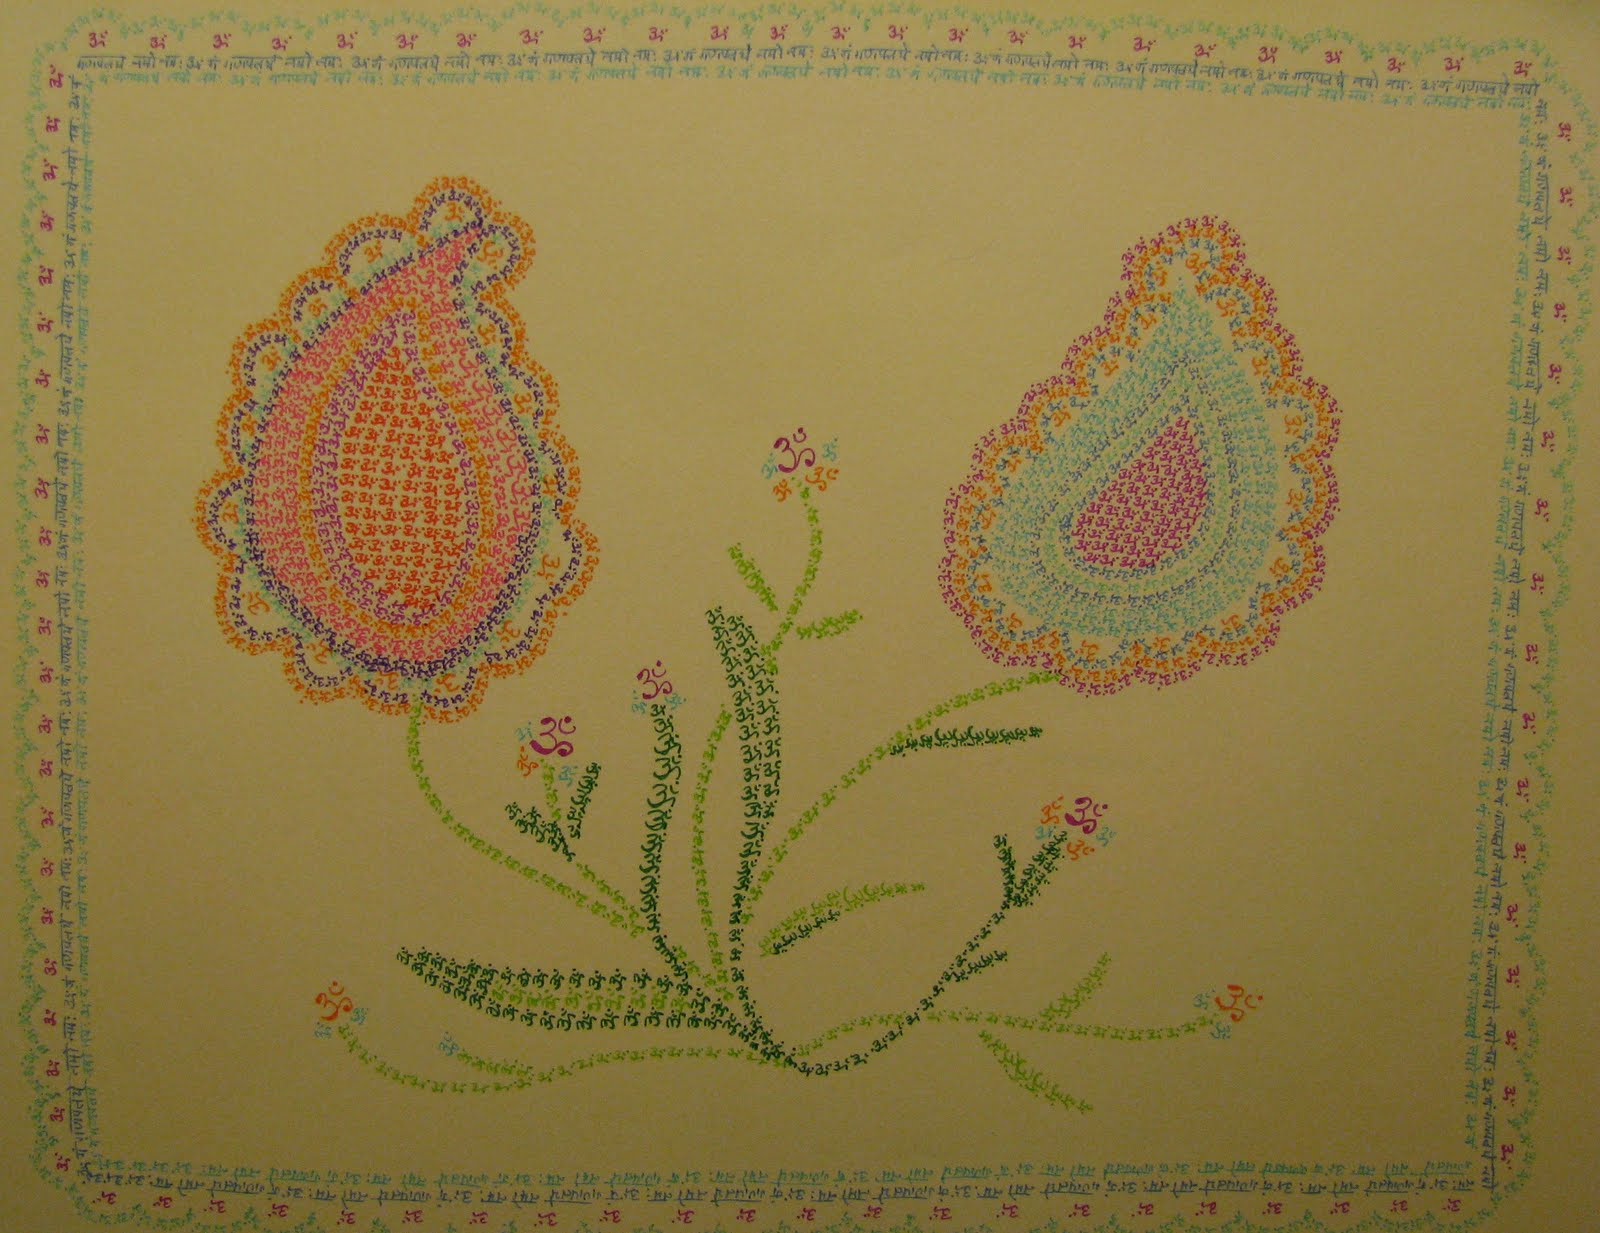
The feather outline was lightly sketched in pencil before the japa began. With the outline in place, one can completely focus on writing the mantra without getting distracted by composition or placement. When the likhita japa session is completely finished (and the ink is dry), then the pencil lines can be gently erased.

For summer camp 2010 we will be encouraging the older children to perform likhita japa with their color and composition studies.

Monday, May 17, 2010

Paisley Flowers in Likhita Japa


This likhita japa is dedicated to Guruji.
Summer Camp 2010

Click on image to view enlarged.

These flowers were created solely from OM. The picture outline was lightly sketched in pencil before the japa began. With the outline in place, one can completely focus on writing the mantra without getting distracted by composition or placement. When the likhita japa session is completely finished (and the ink is dry), then the pencil lines can be gently erased.

For summer camp 2010 we will be encouraging the older children to perform likhita japa with their color and composition studies.

Tuesday, May 4, 2010

Likhita Japa Drawing (Lord Ganesha)


This drawing is dedicated to Guruji
Summer Camp 2010

Click on the image to view enlarged.

Here is a sample of a Likhita Japa Drawing. A very light pencil sketch was done outlining Lord Ganesha before the likhita japa session began. The outline was put in only to help guide the japa, so that focus would not be lost. Once the likhita was completely finished (and the ink was dry) the pencil lines were erased with a graphic eraser.

Materials
• bristol drawing paper
• black pens in different widths
• a pencil
• a good graphic eraser.

Some suggestions of images for the older children to try:

• a Shivalingam
• a diya
• a lotus flower
• a Rangoli pattern

Likhita Japa Doodling


Summer Camp 2010
Click on the image to view enlarged

Doodling is an all-time favorite calming activity — especially for older school children. Why not encourage them to doodle while doing likhita japa?

Here are two sample pages of "japa doodle drawing." The only materials necessary for doodling is a smooth piece of drawing paper, pencil, graphic eraser and a black pen in 3 different widths — thick, fine and super/extra fine. Tell the child to let their pen go where the japa takes them!

Likhita Japa Doodle Drawing


Summer Camp 2010
Click on the image to view enlarged.

These drawings are nothing more than big doodles. Once the older children are comfortable with the idea of writing in different directions you can guide them towards a larger doodle.

Directions
1. Take a bowl and lightly trace it (with a pencil) in the center of the page.
2. Have the child then take their pencil and divide up the circle, creating shapes. They can even extend the shape outside the circle.
3. Begin drawing with ink!

Materials
• smooth surface drawing paper (bristol is an excellent choice)
• pencil
• a good graphic eraser
• black pens in different widths (thick, medium, fine and extra fine)

When the drawing is complete and the ink is dry, then the child can carefully erase the pencil lines. Please encourage the child to not draw any details with the pencil — they should only make light outlines of general areas. The detail work should be done with the likhita japa.